The Curator independently decides what topics and products we feature. When you purchase an item through our links, we may earn a commission. Promotions and products are subject to availability and retailer terms.
Green thumbs, you’ve waited patiently all winter, and now, the time is here. It’s officially gardening season! So whether you tend to a few containers of veggies on a balcony, or you have a large backyard plot with flowers, herbs and shrubs, there are a few steps to get started.

As for when to start planting? Well, that depends where you live.
We asked Global News Meteorologist Ross Hull for his advice:
Maritimes
The risk of a hard freeze can persist into late April/early May in this area so for seedlings that are cold sensitive you will want to wait until mid to late May into early June. A good marker is the Victoria Day long weekend – during that period or after is often a safer time. Some crops are hardier to the cold and can be planted earlier such as onions, cabbage, broccoli, lettuce, and peas.
Southern Quebec & Eastern Ontario:
Later in May or early June is the best time to ensure that frost doesn’t impact spring planting in this area. During or after the May long weekend is usually a safer bet but keep an eye on the forecast because frost can still hit as late as May in this region. Although some vegetable crops and plants that are more frost-hardy can be seeded earlier.
Southern Ontario:
Mid to late May is the safest time to plant to avoid that chance of frost in this area. Although keep an eye on the forecast because frost can linger into May at times if there’s a cold spell. Lettuce, spinach, and Kale can usually be planted earlier in the season. Sunflowers can also be planted earlier in May.
Central Canada:
Mid-May for semi frost-hardy plants and late-May early June for more frost sensitive crops or plants. Wait until the first week of June for cucumbers, squash, corn, and tomato plants.
Alberta:
Late-May early June is the ideal time to plant warm weather crops such as beans, cucumbers, peppers, zucchini, and tomatoes. Some areas (especially higher terrain) could be susceptible to frost as late as early June so make sure you follow weather updates closely. More hardy, cooler weather crops such as beets, cabbage, carrots, kale, and potatoes can be planted as early as late-April.
British Columbia:
The more temperate climate in parts of this province means you can start your spring planting earlier, especially in the Lower Mainland and on Vancouver Island. Early to mid-May is generally a good time for warmer weather crops while more hardy plants can be planted as early as late-March into April.
Next steps
What to do first? Just like in your yard, experts recommend giving the garden bed a good clearing.
“Rake through it. Get the dead stuff out,” says Len Chambers, a horticulturalist with the University of Alberta Botanical Gardens. “It’s a matter of cultivating that soil and getting it ready for planting.”
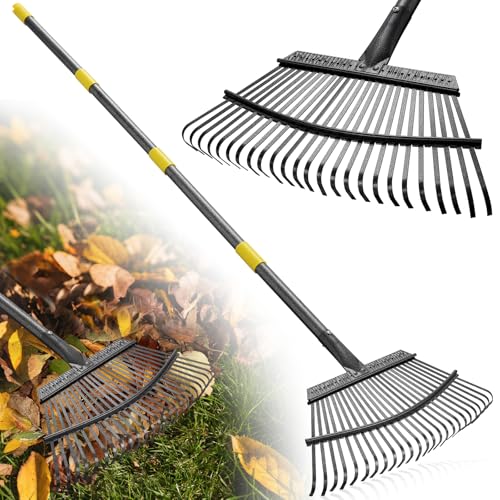

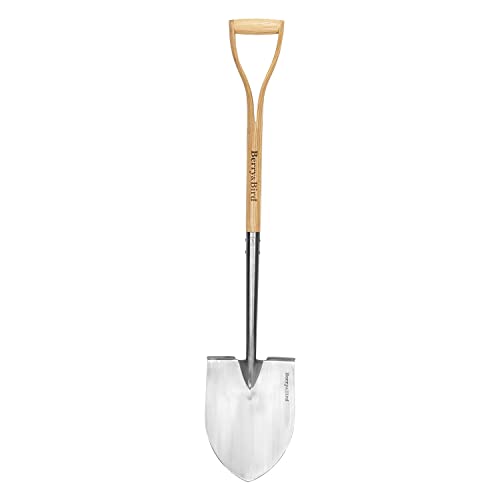
Chambers also recommends using a rake or spade to dig out decomposing leaves or roots from last year’s harvest.
U of A horticulturalist Duncan Giedelhauf says after raking, the rotted plant material can be mixed in with green kitchen waste to make a great compost/feed for this year’s garden – but he warns that you should be careful how much leaf material you reintroduce.
“I’ve seen it happen where people rototill whole leaves into their garden. It changes the matrix enough that it dries out faster, and things are not breaking down.” Instead, he says put those leaves aside and add them to a compost bin with kitchen waste and use that for the garden.

You may also like:
Fiskars 9109 Traditional Bypass Pruner – $22.00
Galvanized Raised Garden Bed – $129.99
Small Flower Hand Shovel – $24.99
When getting ready to plant, it’s a good idea to add fresh soil and sand, says Chambers. He recommends topsoil for nutrients, and a coarse sand for good drainage. “Topsoil actually has a lot of good micronutrients that plants need, but it doesn’t have a lot in terms of structure. You need to add organic material to it to make it more fluffy,” he advises.


In terms of sand, Chambers says any coarse brand will do, as long as gardeners stay away from fine sand, because when mixed with soil, it will create a hard, compacted material in your flower bed.
Once you’re ready to plant, digging in seeds can be done by hand or with small garden tools, but there are a few innovative items that can make this task easier.


Once seeds and seedlings are in the ground, the next step is giving everything a hearty watering. The U of A horticultural team recommends a hose nozzle that features a few different spray strengths.
“It depends on how fragile the plant is. I would recommend a fine mist for seedlings,” says U of A Horticulturalist Duncan Giedelhauf. Once plants have gotten bigger and stronger, they can withstand a heavier shower and ensure enough moisture gets down into the soil, he says.


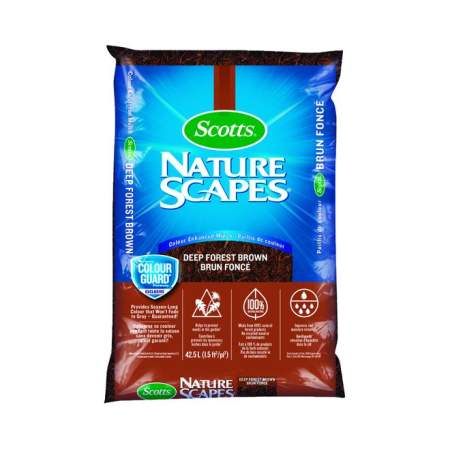
As a final touch, add mulch to your flower and garden beds, the U of A team advises. Along with being aesthetically pleasing, mulch provides insulation for those burgeoning buds.
“It’s really good practice. As it slowly breaks down, it is improving the soil’s ability to get nutrients,” says Giedelhauf. “It keeps soil cool on hot days, keeps moisture in there and improves the soil’s structure.
You may also like:
The Old Farmer’s Almanac Vegetable Gardener’s Handbook – $19.95


Comments
Want to discuss? Please read our Commenting Policy first.