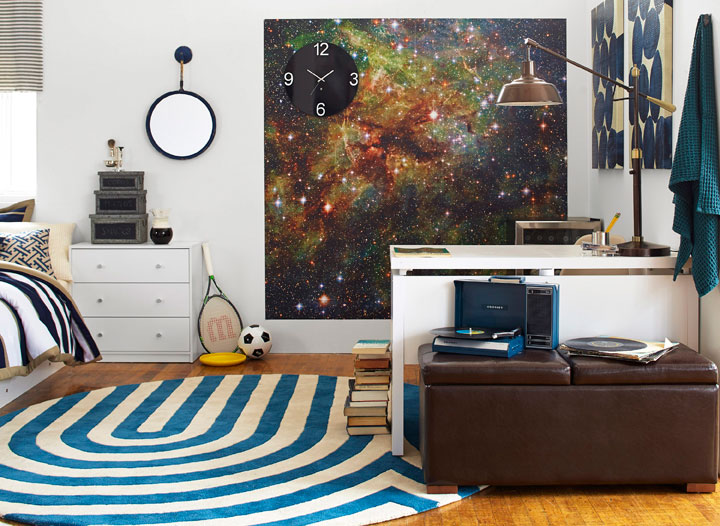
For teenagers heading off to college, it’s both a design dream and a challenge: What to do with a small, nondescript dorm room – a space you may have to share? A space that may include furniture you can neither remove nor alter?

Do-it-yourself projects are a great, low-cost way to inject personality into a temporary space.
Some DIY advice from the experts:
Reclaim old wood from junked furniture to turn into new furniture, says Maxwell Ryan, who focuses on economical, small-space design as founder and CEO of the New York-based lifestyle blog Apartment Therapy. For instance, you might build a desk by positioning a wood slab, such as a piece of an old door, atop two inexpensive file cabinets.
“When you think about it, a desk is mostly just a hunk of wood,” says Ryan.
Create a headboard from a large mirror, which reflects light and makes a room look larger.
If you want to go the cinder-block route (or plastic milk crates or wood pallets) to make bookcases, a desk or other simple furniture, be sure to paint them first – preferably white or something bright, Ryan suggests. Wood pallets, in particular, are useful: “They can become coffee tables or foundations for beds or sofas.”

Christiane Lemieux, founder of DwellStudio and creative director at Wayfair, suggests personalizing bookcases with colorful scrapbook or other paper on the inside back wall, adhering it with Blu-tack, which removes easily. Or use washi tape, which also comes off easily, on nearly any surface: the edges of bookshelves, computer cords, and furniture, including headboards and mirrors.
You can create a graphic image on a dorm wall with washi tape, Lemieux suggests, or cover a large wall with temporary wallpaper or an adhesive mural. Try the temporary dry-erase-board or chalkboard wallpaper, on which you can write (and erase) your daily activities.
Temporary wallpaper can also be used on furniture, she says. Or jazz up a plain, white dresser (your own, not the one provided by the dorm or in a furnished apartment!) with colored Sharpie pens. Update drawer pulls with bright duct tape or spray paint.
Most important, Lemieux says, is the bed, usually a dorm room’s centerpiece. Think of it as a sofa: Push it sideways against a wall and dress it up like a day bed.
“Your bed is your lounge area, your media centre, your office, your everything,” she says.
Hang a tapestry or curtain behind it to create an inexpensive but dramatic headboard. Over the bed, hang a canopy chandelier made from a hula hoop, duct tape, two curtain panels, a string of lights and washi tape.
“It’s so easy to do and so inexpensive, and provides such a big bang,” says Lemieux.
Here are the instructions:
- Freeland set to table 2024 federal budget in the House of Commons
- All a-boot tradition: A look at finance ministers’ budget shoes through the years
- Inflation ticked higher in March. Are Bank of Canada rate cuts still in the cards?
- Food service strike: Air Canada, WestJet refine menus at Toronto Pearson
—
Canopy and Chandelier DIY, by Christine Lemieux
Supplies:
- 1 hula hoop
- 1 roll of gold duct tape
- washi tape
- ribbon bits
- 1 string of indoor white lights
- 2 sheer curtain panels
- Pretty cord
Assembly:
- Cut the hula hoop open.
- Cover the hoop with the gold-colored duct tape.
- Thread the two curtain panels onto the hoop.
- Close the hoop with more gold duct tape.
- Drape the string of lights around the hoop.
- Add decorative washi and ribbon details to the string of lights.
- Tie a pretty cord at four balanced points on the hoop and hang it from these points.


Comments