

WINNIPEG – One the most difficult parts of making a holiday dinner is presenting the perfect turkey to friends and family.

Global’s Morning News chef Eraj Jayawickreme from Fairmont Winnipeg offers his tips on thawing, seasoning, cooking and roasting a juicy turkey.
Of course, he tells you how to make delicious gravy for the final presentation as well.
WATCH: How to thaw a turkey
Ingredients:
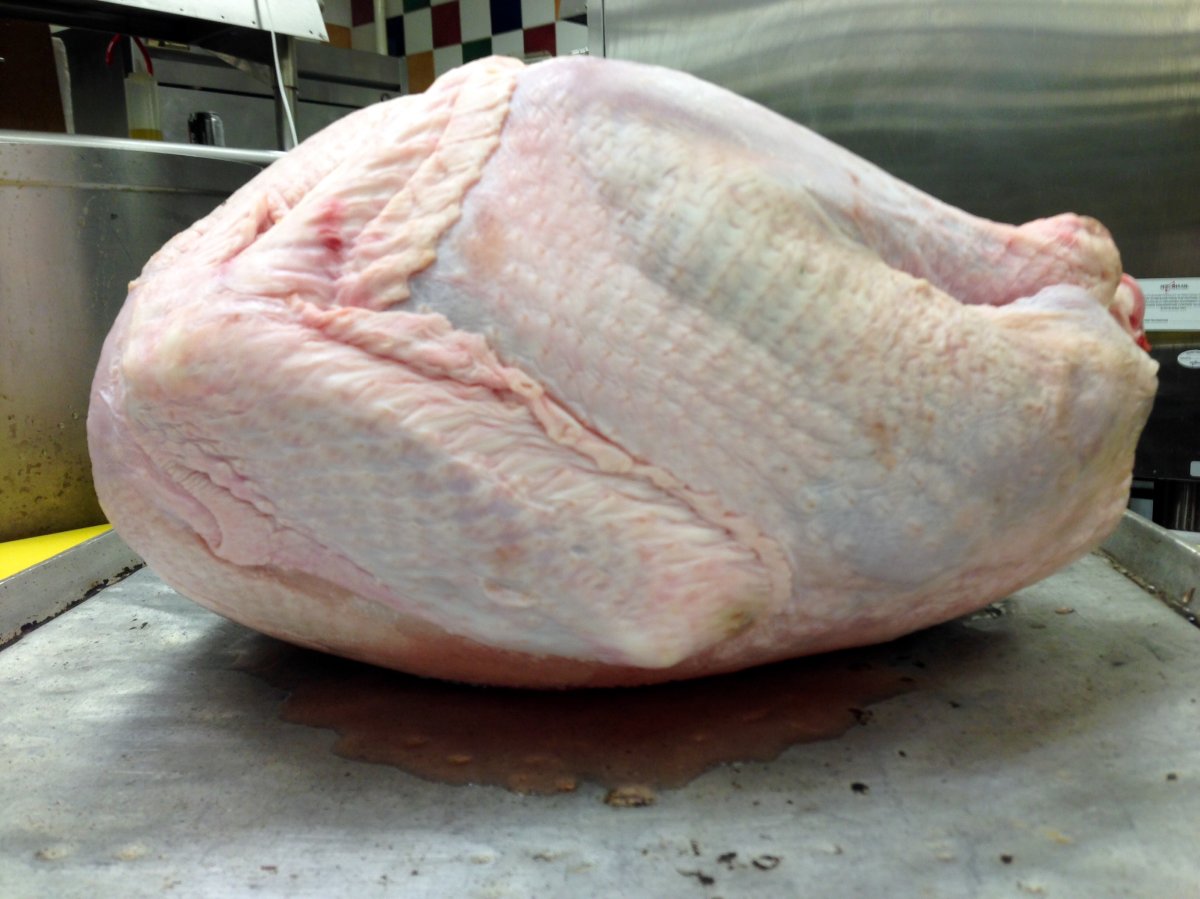
1 frozen turkey, any size
Equipment:
- Roasting pan with rack or other pan large enough to hold the turkey, for a refrigerator thaw
- Large plastic bag, like a garbage bag or extra-large zip-top bag, for quick-thawing
- Large pot or bucket, for quick-thawing
-

Refrigerator thawing:
- Place the turkey on a roasting rack in a roasting pan. This will catch any juices that may leak from the turkey’s packaging as it thaws. The rack helps to elevate the turkey and provide circulation on all sides for even thawing, but isn’t strictly necessary if you don’t have one or are using a different pan.
- Transfer the turkey to the refrigerator. Make sure there is nothing touching or leaning against the turkey. Do not place anything else in the pan with the turkey; juices may leak from the turkey as it thaws and can contaminate anything else in the pan.
- Thaw the turkey completely in the fridge. Total thawing time will depend on the size of your turkey; refer to the chart below. If you have time, give yourself a day or two as a buffer just in case your turkey takes longer to thaw than expected. Thawed turkeys can be kept for up to 2 days in the refrigerator.
- Allow about 24 hours for every 5 pounds of turkey
- 4- to 12-pound turkey — 1 to 3 days
- 12- to 16-pound turkey — 3 to 4 days
- 16- to 20-pound turkey — 4 to 5 days
- 20- to 24-pound turkey — 5 to 6 days
Quick-thawing your turkey:
- Place your turkey in a large plastic bag. The packaging on your turkey isn’t necessarily waterproof. To prevent the turkey from getting waterlogged during this quick-thaw process, put it in a large plastic bag to protect it.
- Place the turkey in a large pot or bucket. Make sure the turkey fits inside the pot and can be fully submerged.
- Fill the pot with cold water. Do not use warm or hot water to speed thawing — this puts the turkey within the “danger zone” of 40°F to 140°F for longer than is safe, and your risk of food poisoning increases drastically. Weigh the turkey down with a pot or other heavy pan if it floats.
- Change the water every 30 minutes.
- Continue until the turkey is thawed: Refer to the chart below
Cold water thawing times:

Get breaking National news
- Allow about 30 minutes for every pound of turkey
- 4- to 12-pound turkey — 2 to 6 hours
- 12- to 16-pound turkey — 6 to 8 hours
- 16- to 20-pound turkey — 8 to 10 hours
- 20- to 24-pound turkey — 10 to 12 hours
- How to Know When Your Turkey Is Thawed
- Check the breast meat: when thawed, the breast meat should feel pliable and springy
- Check the legs: when thawed, the legs and wings should move loosely in their sockets
- Check the inside: the inside should be free of ice crystals and you should be able to easily remove the packet of giblets
For brine
- 1 Tbsp Black Peppercorns
1 tsp Juniper Berries
2 head of Garlic
1 bunch of thyme
8 Dry Bay leaves or 4 Fresh
1 whole nutmeg - 6 whole star anise
- 3 sticks cinnamon
- 1 tablespoon cloves
- 1 tablespoon coriander seeds
2 lemons, halved - 1 cup Salt
1/2 cup Sugar - 4L water
Toast the spices and add all ingredients to a pot and bring to a boil. Once boiled, cool to room temperature.
Place turkey in cooled brine. Thw brine should completely cover turkey; if it doesn’t add additional water and refrigerate at least 12 hours and up to 24 hours.
WATCH: How to cook the perfect turkey
Choose the right type of turkey for you.
Heritage? Organic? Fresh? Frozen? There are lots of choices out there. A heritage turkey is right for you if you want to try an old-fashioned breed of turkey, often leggier and leaner and more flavorful and don’t mind paying a little extra for it. If organics are important, you may already have your eye on a turkey raised according to organic standards and fed organic feed. If you’d prefer a traditional fresh or frozen bird, pick the healthiest-looking one in the weight range you need and make sure it looks well fed for its size. Remember, fresh may not necessarily be better than frozen; frozen turkeys are snap-frozen just after butchering.
Figure on 1 to 1 ½ pounds of turkey per person.
To buy the right size turkey for your party, simply tally up the turkey-eating guests. Add a few pounds on for bones and you’ve got your turkey weight. For example, eight people will require a 12 to 14-pound turkey.
Cook the turkey on a rack of vegetables.
Create a natural roasting rack for your turkey by layering carrots, onions and celery on the bottom of the roasting pan. Lifting the turkey off the base of the pan helps to increase hot air circulation around the whole bird so that it will get crispy all over. The vegetables add great flavor to the gravy.
Brining keeps it moist.


Brining is an easy, sure-fire way to a moist and flavorful turkey. A typical brining solution contains water, salt, sugar and a variety of spices and aromatics. Just be sure to follow a trusted recipe so you get the right proportion of each.
Keep the stuffing on the side.
Chances are the holiday of your childhood featured a stuffing cooked right in the cavity of the turkey. Go ahead and use your family recipe but we suggest you cook the stuffing in a separate pan. Cooking the stuffing in the turkey can provide fertile ground for the growth of harmful bacteria. In addition, a stuffed turkey will take longer to cook, which could result in drier white meat. Instead, loosely fill the turkey with aromatics such as onions and herbs and cook the stuffing separately.
Stuff butter and sage under the turkey breast.


Before putting it in the oven, make sure the skin of the turkey is as dry as possible and then rub it all over with butter. For even moister meat, place pats of butter under the skin.
Skip the basting.
Basting means more oven door opening, resulting in temperature fluctuations that can dry out your bird. Instead, keep your turkey moist by brining it.
Invest in a good meat thermometer.
Check to see if it’s done by inserting an instant-read thermometer in the thickest part of the turkey around the thigh, avoiding the bone. At 165 degrees F, it’s done. The turkey will continue to cook as it rests, so the temperature should rise another 10 degrees or so out of the oven.
Give it a rest.
To lock in juices, tent your turkey with foil and let it rest for at least 15 to 20 minutes before carving. Be sure you don’t cover the turkey too tightly as you don’t want the bird to steam under the foil.
Cooking an upside down roasted turkey
Place the turkey on the rack with the breast side down. This protects the white meat from overcooking and allows it to absorb the juices as they run downward into the bottom of the pan. Then, for the last hour of roasting, carefully remove the pan from the oven and flip the bird over, allowing the breast skin to crisp up and get golden brown.
If you’re worried about flipping a hot and heavy fowl (which can be near-impossible if your bird’s more than 16 or 18 pounds), you can roast it breast-side-up the whole time if you take some precautions. Cover the breast with a double-thick layer of buttered aluminum foil or cheesecloth to help insulate it against the heat. Then uncover it an hour before it’s done, allowing the skin to darken and crisp. If the skin still looks too pale but the meat is finished, feel free to broil the bird for a minute or two before pulling it out of the oven
Plan on 20 minutes per pound in a 350 degree F oven for a defrosted turkey and 10 to 15 minutes per pound for fresh.
Ingredients:
- 1 (18 pound) whole turkey, neck and giblets removed
- 2 cups kosher salt
- 1/2 cup butter, melted
- 1 lb butter
- 1 bunch of fresh sage chopped
- 2 large onions, peeled and chopped
- 4 carrots, peeled and chopped
- 4 stalks celery, chopped
- 2 sprigs fresh thyme
- 1 bay leaf
- 1 cup dry white wine
Method:
- Preheat oven to 350 degrees F (175 degrees C). Thoroughly rinse the turkey, and discard the brine mixture.
- Soften 1 lb of butter and mix with the chopped sage. Stuff the butter mixture under the breast skin.
- Brush the turkey with ½ the melted butter.
- Place breast side down on a roasting rack in a shallow roasting pan.
- Stuff the turkey cavity with 1 onion, ½ the carrots, ½ the celery, 1 sprig of thyme, and the bay leaf.
- Scatter the remaining vegetables and thyme around the bottom of the roasting pan, and cover with the white wine.
- Roast uncovered 3 ½ to 4 hours in the preheated oven, until the internal temperature of the thigh reaches 165 degrees F
- Carefully turn the turkey breast side up about 2/3 through the roasting time, and brush with the remaining butter.
- Allow the bird to stand about 30 minutes before carving.
- Use the pan juices to make gravy.
Easy turkey gravy
Ingredients:
- ¼ cup turkey fat
- ¼ cup all-purpose flour
- 1 cup pan drippings
- 1-2 cups chicken stock
- Salt and pepper
- Optional extras: splash of sherry, splash of wine, teaspoon of minced herbs like rosemary, thyme, or sage
Method:
- After you’ve removed the turkey from the oven and set it aside to rest, set the pan over medium-high heat on the stove-top. You may need to span two burners. When the pan drippings are hot and sputtering, pour in a cup of broth and begin scraping all the bits from the bottom of the pan.
- Separate the fat and drippings – Pour the deglazed pan drippings into a measuring cup and place this in the refrigerator or freezer, wherever there is space. In the 30 minutes it takes to rest the turkey, the fat and drippings will separate and the fat will begin to harden. This makes it easier to skim off just the fat for making the gravy.
- You should ideally end up with about a cup of pan drippings and 1/4 cup of fat. If you have less, you can make up the difference with stock and butter, respectively. If you have more, discard a little of the fat and use less broth in the next step. If you have a lot more, you can also double the recipe.
- Make a roux – skim the fat from the top of the pan drippings (or use a fat separator) and warm it in a saucepan over medium-high heat. When the fat is hot, whisk in the flour to form a thin paste. Let this cook for a few minutes until bubbly.
- Add the pan drippings. Next up, pour in the pan drippings and whisk to combine with the roux. This will form a thick, gloppy paste.
- Add the stock. Finish the gravy by whisking in a half cup of stock. You can add more stock for a thinner gravy or let the gravy cook a few minutes for a thicker gravy. Taste the gravy and add salt, pepper, and any extras to taste.
- For a very smooth gravy, strain the pan drippings before adding them to the gravy.
Comments