CONCORD, N.H. – Despite their rounded shape, Easter eggs can be edgy. Give them a modern boost by combining two fashion and decorating trends: colour-blocking and gold-dipping.

I found several different methods online for producing decorative eggs with bold or pastel blocks of colour and just enough gold to provide a bit of flair. Piled in a bowl or displayed in a row on a mantle, they’re an easy option for spring decorating.
I tested three approaches for cost, ease of execution and overall results. I started with wooden eggs purchased from a craft store, and for each technique I made two versions: For one, I layered the gold over a coat of colored paint, and for the second, I applied the gold directly to the bare wood. These techniques would work just as well, however, on papier-mache eggs or even real eggshells with the insides blown out.
WATCH: Ways to decorate Easter eggs
Here’s what I found, with each method rated from 1 to 10, with 10 indicating the least expensive, easiest and best results:
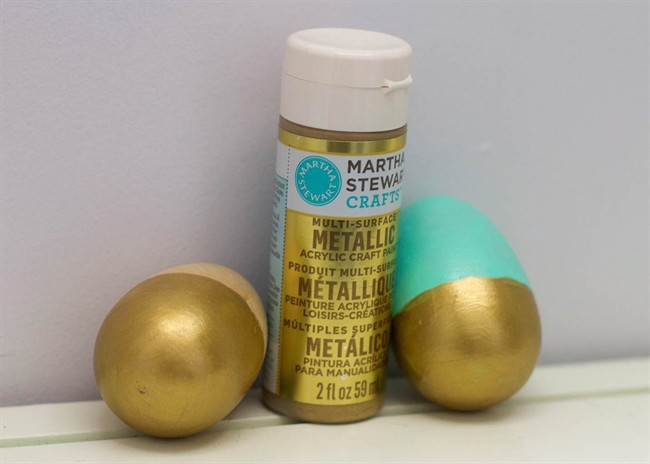
ACRYLIC PAINT
This method is the least expensive and most straight-forward, and probably the easiest of the three to attempt with kids. I used instructions found at a blog called Oleander + Palm (http://bit.ly/21lh2pb ). Simply paint the eggs in your desired colour, allow them to dry, and then paint one end of each egg with gold paint. Acrylic craft paint is cheap and easy to clean up with soap and water. The downside? The resulting gold colour was not quite as vibrant or shiny compared to the other methods, and it did take multiple coats to achieve opaque coverage.
Cost: 9
Ease: 7
Results: 6
SPRAY PAINT
This technique, found at Ashley Phipps’ website Simply Designing, would be the way to go if you’re looking to make a large batch of eggs at one time. It involves using painters’ tape to mask off part of the eggs and then spraying them with gold spray paint. That can get a bit messy and should be done outdoors or in a well-ventilated room, but the result is a crisp line and even coverage with minimal effort.
It was a little tricky to apply the tape in a way that resulted in a clean line all the way around the egg, and even a small can of spray paint costs about $5, considerably more than a small bottle of acrylic craft paint.
Cost: 7
Ease: 6
Results: 8
LIQUID GILDING
Liquid gilding is a paint-like product that is supposed to produce an effect similar to gold leaf. A small bottle costs about $7, making this the most expensive technique. And because the gilding is solvent-based, it must be handled outdoors or in a well-ventilated space. Brushes used to apply it must be cleaned with nail polish remover or enamel paint thinners, which makes it both more expensive and less convenient, and probably not a good option for kids.
That said, it was easy to apply and produced a more authentic gold lustre and sheen than the other methods. I found this idea at a Canadian parenting blog, Frugal Mom Eh!
Cost: 6
Ease: 6
Results: 9
WATCH: Here’s an Easter craft not involving eggs
Comments